
 For several years, George has been making Baklava for Christmas. When we were together he used to make Christmas cookies. Hundreds and hundreds of them. All different kinds. He would put them on Christmas plates, wrap them and deliver them to everyone. Everyone!!! Now he makes Baklava. This year, he asked me if I could help him. I was thrilled as I had never made this Armenian delight. I had, almost four decades ago, worked with phyllo dough making other Armenian dishes. But never baklava. So I did not hesitate when asked.
I have seen in recent years knock-offs of this treat, skimping on layers and reducing caloric content. I have always maintained a loathing for those. Do it right. Just eat less. Maintain tradition. For god's sake. When I asked George about his recipe I was thrilled to see that I was going to learn how to make the real thing!

We made four trays. Each tray had four layers of Fillo Dough. The bottom layer had four layers and the other three layers had three layers. Each layer was composed of four sheets of Fillo Dough. So each tray had 52 sheets of Fillo Dough.
The preparation of the nuts was two parts ground walnuts to one part ground almonds. These were ground in a tiny version of a Cuisinart.

To this we added 1/2 cup of sugar, 1/2 teaspoon of cinnamon, and 1/4 teaspoon of ground clove. I must admit that I cheated a little and added more of these spices than what he told me to put in. It just didn't seem like much.


Then we melted in the microwave a whole pound of butter for spreading on the layers of Fillo.
 This is the brush I used for brushing. I think it was a three inch paint brush. It would have taken forever if I had used the standard home kitchen butter brush that is an inch wide. As George laid a sheet of dough down I brushed it. Then the next and the next.
First you start by buttering the pan. You see that we just used a cookie sheet. I had always thought that the pan was going to be a deep pan. I was able to bring from my own stash two restaurant half baking pans which are a bit bigger that home-grade pans. So we got a bit more out of those pans when it came time to cut.

George would lay the sheets and I would butter. Sometimes, the Fillo was easy to work with and sometimes not. It really had nothing to do with quality. The company that made what we were working with has been making this Fillo for over a hundred years and you will find it in the freezer departed as "Athens Fillo Dough". It is just that fragile. Working 4 trays meant that we handled over 200 sheets and there were bound to be some damaged ones. So don't be too frustrated if you find them. Remember that you have a whole pound of butter to work with. Melt two sticks at a time. Do the first two layers. Then melt the last two stick for the top two layers. It is easier to work if the butter is warm.

So then we spread the nuts on as evenly as possible, but not too much. It doesn't take much for the three layers. You just want a nice thin even layer.
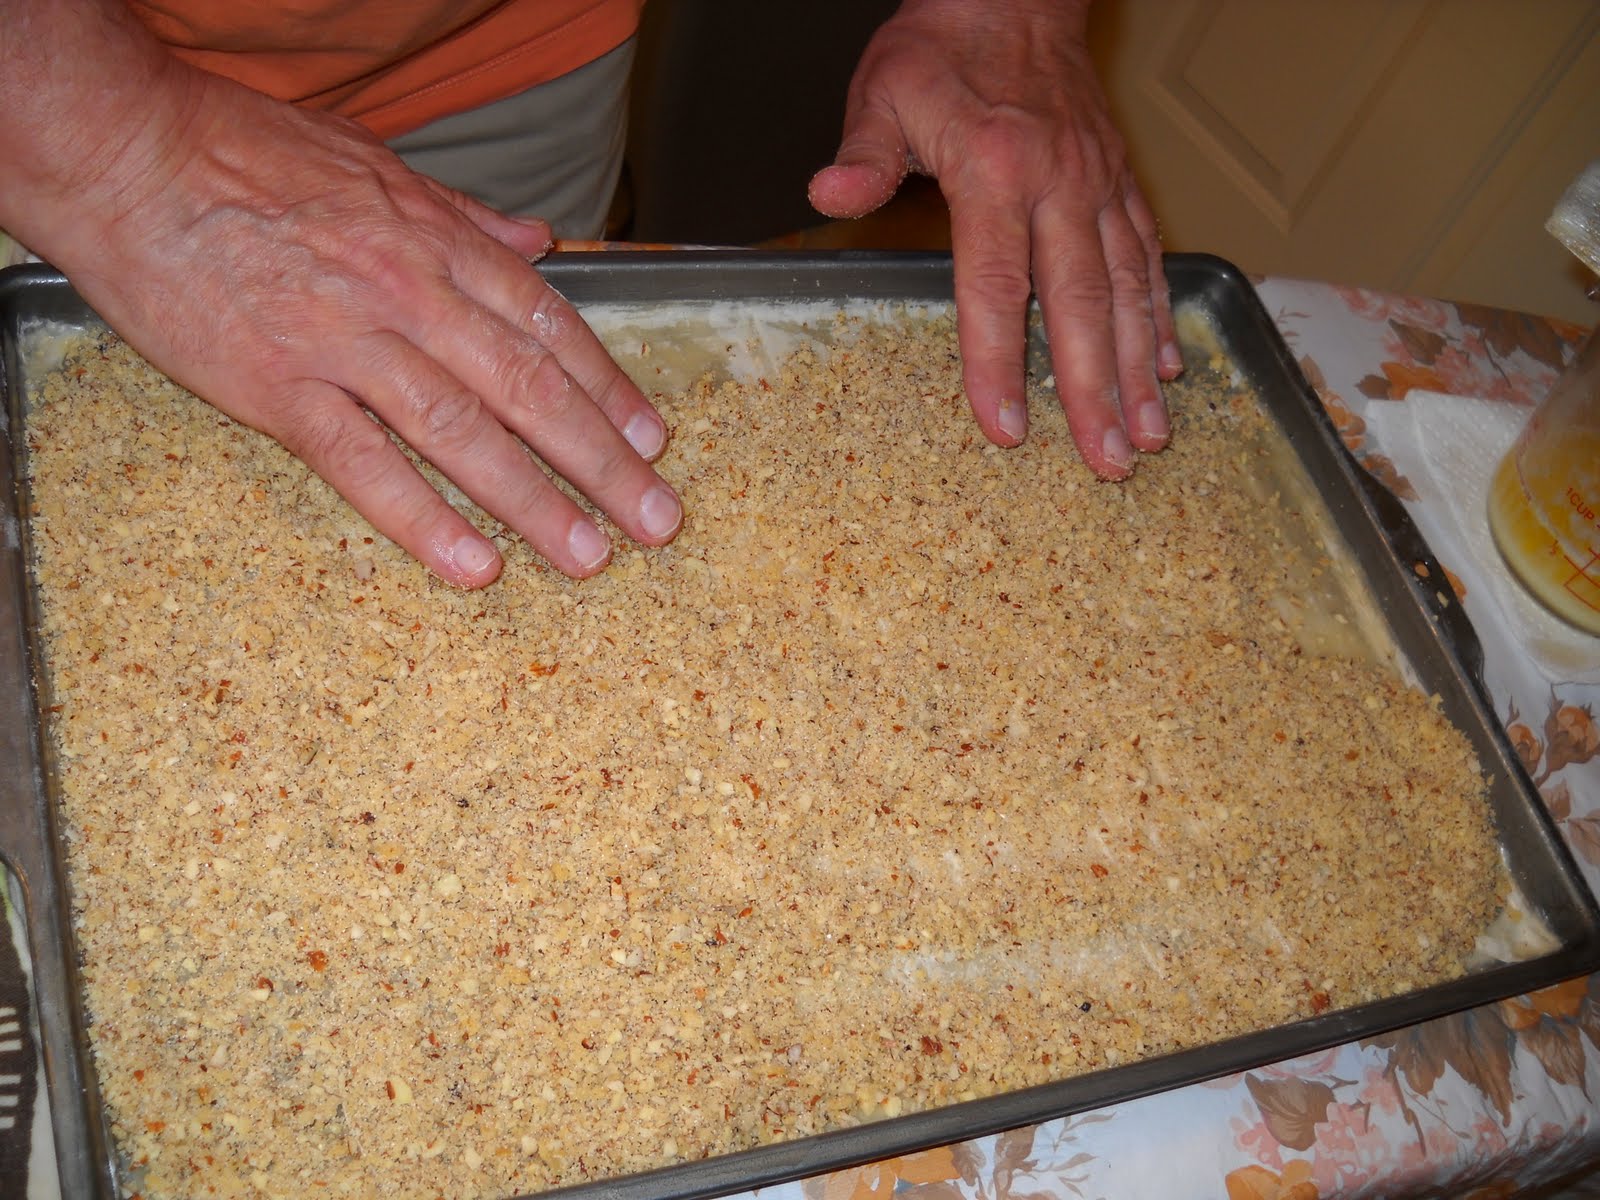

The hardest sheet of dough to butter is the first layers over the nuts. Just be generous with the butter and patient with your hand.

Before putting the tray in the oven, score the top layer of dough. My thoughtful sister Suzanne gave me this perfect knife sharpener for my birthday which I brought to George's kitchen when I saw the knife he was working with. It must have been a hundred years old and never sharpened. The sharpener is a Whustoff and does a really good job. After he sharpened his knife, cutting went really well.


So you put the tray in a 350 degree oven for about 1/2 hour until it is a nice light brown. If the pan is well buttered including and carefully done, the edges, then there will be no drying out. It is important not to dry out the edges.

We made one tray at a time and put each in the hallway to cool. While cooling, we made a syrup of 2 cups sugar, 1/2 cup honey, 2 cups water and a generous squirt of lemon juice. Cook this on the stove bringing to a boil and then simmering for a little while. You don't want to cook it down. You don't want it to get heavy. It should be a very light syrup. It must be hot when you pour it over the cold baklava. Then it takes time for the syrup to be absorbed into the pastry. You should not see any syrup around the edges of the pans. So let it sit for a day. Gooey is good.

It took us two days to make four trays. On the third day is when George began the process of cutting. I put each piece into a cupcake cup and then into tins. I think we filled nearly 25 to 30 tins.

 It was exhausting but a wonderful experience. I will do it again next year. Now let's see. Who is on the list?????
Awesome! Great pictures, Pauline! Thank you for sharing this.
ReplyDeleteoMG - I wish I could dive, head first, into one of those trays!!! Amazing!
ReplyDeleteHyrum and I are saving our tin for the promised refills! So sapid! Thank you!
ReplyDelete